Long have I wanted a machine that would produce precise and shiny works of metal. Side projects drive my interest in engineering and having my own machining capabilities allows for me to do projects more effectively. I considered building a CNC mill from scratch (linear bearings and ball screws), using machines available to me at the University of Waterloo’s student machine shop, but the materials would have added up to more than $1000, and for that much I could buy an off-the-shelf manual milling machine and convert it. So, I shortlisted some choices and it came down to an X2 mini mill or a G0704 desktop sized mill.
The X2 in Grizzly colours:

The G0704:

The main features the G0704 had over the x3 included a lead screw on the Z axis vs. a rack and pinion on the X2 and being more rigid overall. The G0704 is also double the weight of the X2, and for the money, I don’t think you can buy a better mill unless you find a used one. Unfortunately, these specific Grizzly machines weren’t CSA approved and would have to ship via freight from the United States. After taxes and customs charges, I’d probably be paying closer $1500. Alternatives in Canada included Craftex variants which would be comparable in cost after importing.
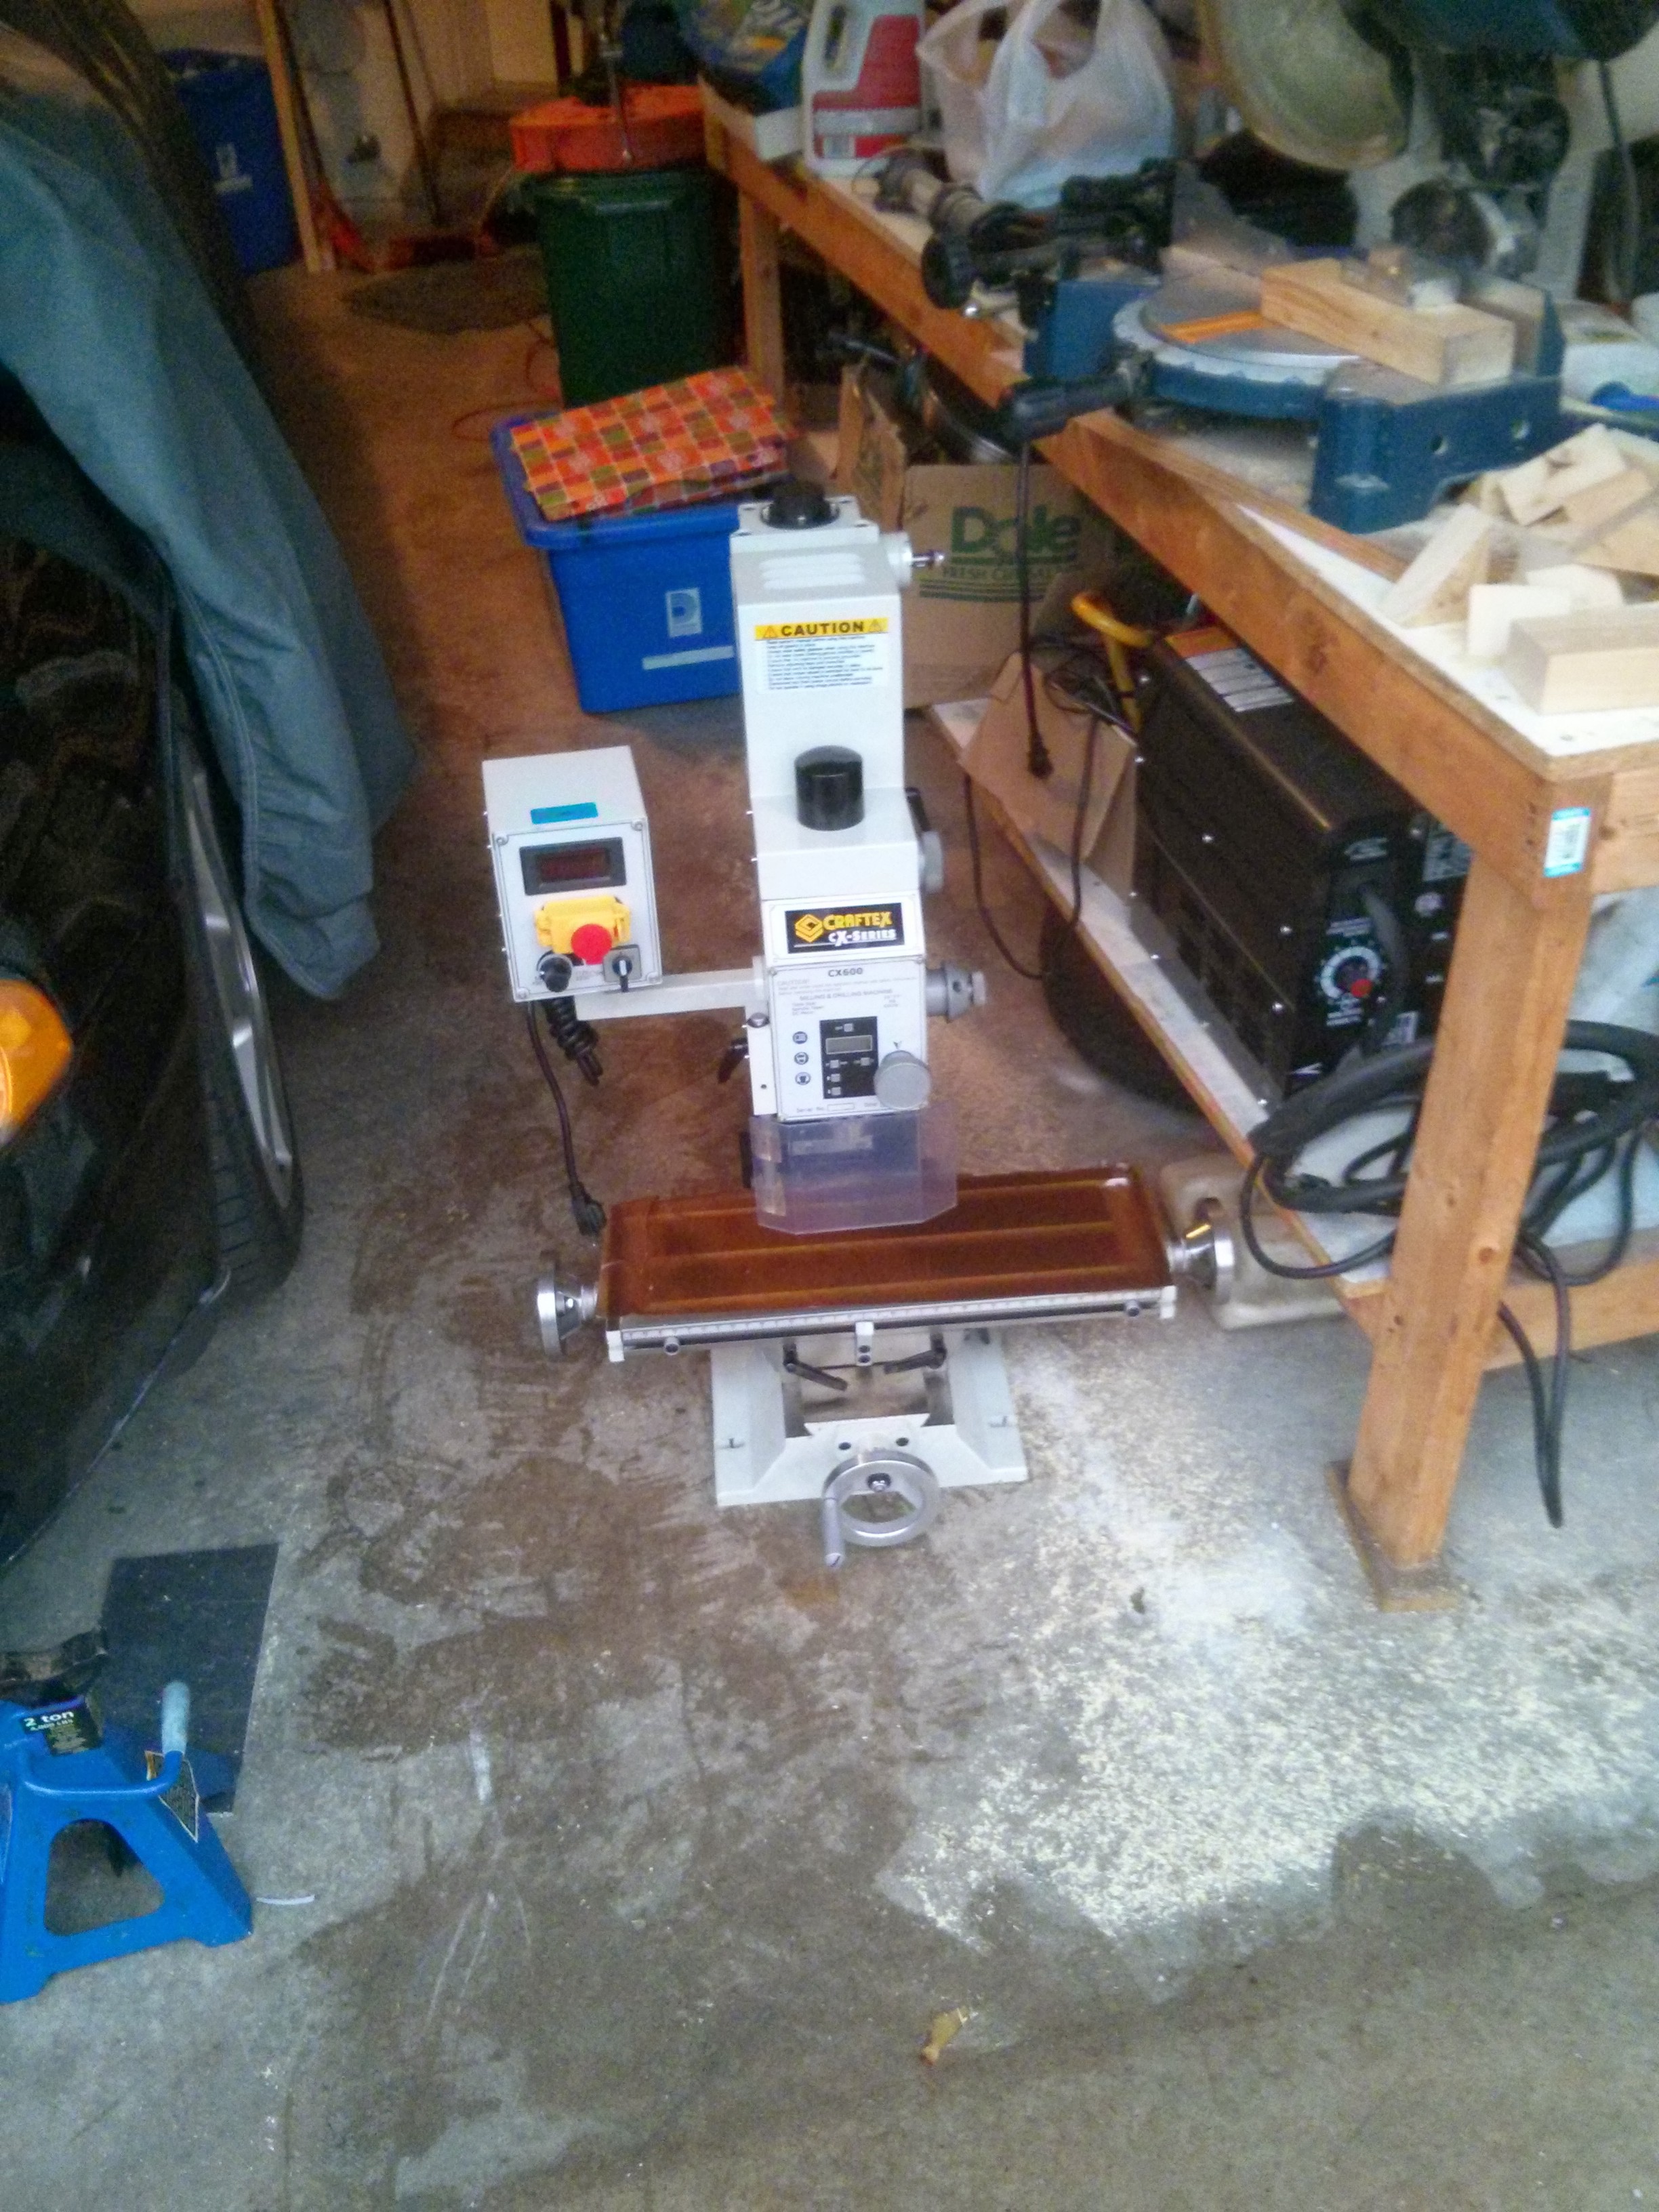
In the end I bought a CX600/G0704 because of its added rigidity, work area, and better construction.

On a rainy Saturday morning, I picked up the mill and threw it in the back of my wagon. The machine was a lot heavier than it appeared. While it was on it’s back, I noticed that bolts pinching the split lead screw nuts were not tightened down. Other than that, there were no other noticeable issues with the mill.

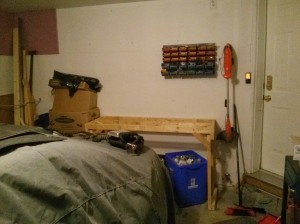
Unfortunately I have a small 1.5 car garage, and there’s an electric car along with garbage taking up space. I had a bench framed up against the back wall, although it needed some modifications before holding the mill. The bench was originally for light work, only made of 2×3 studs. The plan is to store recycling containers under the bench and move the garbage… out of the garage. Cleanup efforts will soon ensue, I promise.
Unloading the mill was difficult with two people, and I would highly advise against it. Find more friends and stay fit.
As for converting to CNC, I will be designing my own belt drive system for each axis and using the stock lead screws. Nema 23, 428 oz.in stepper motors and drivers are on order from ebay and power supplies are coming from Digikey. I’m not doing enough heavy or extremely precise machining to justify the cost of ball screws and higher end drive components. A timing belt setup was chosen for its simplicity and tolerable error. Using timing pulleys in place of the hand wheels currently on the machine allows me to preload the original thrust bearings easily and shaft alignment will not be critical. Fast forward on week and aluminum chips are being sprayed everywhere as stepper motor mounts begin to form. I really couldn’t wait to start machining but the machine had to go through a break-in cycle. Luckily that took very little time and just involved energizing the spindle at incrementally higher speeds. The bench legs were also replaced with 4x4s and the machine is bolted down. More to come shortly.


